
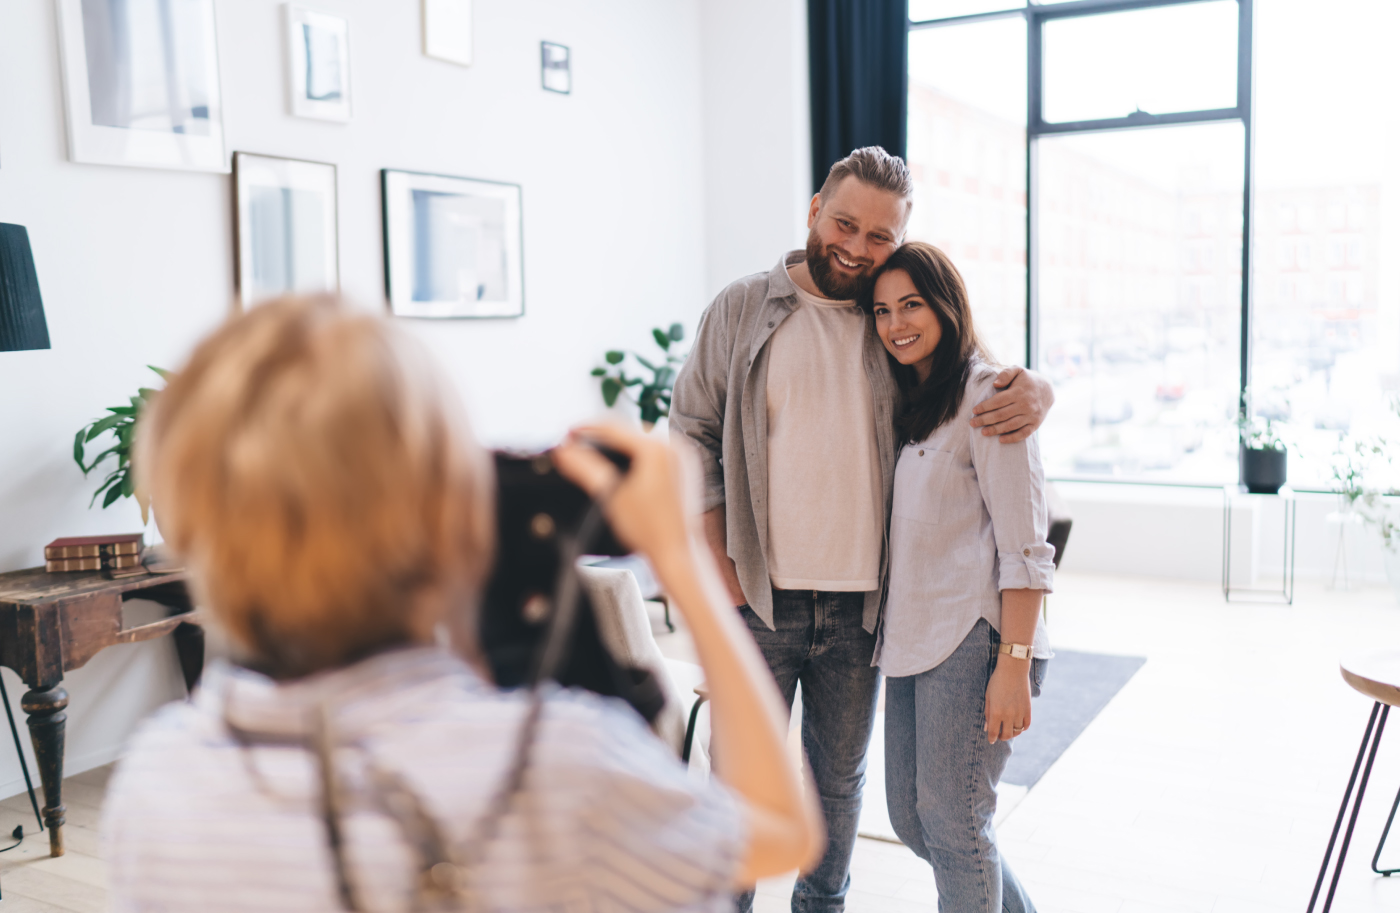
Indoor photography can be challenging, but it’s also incredibly rewarding. From capturing family moments to photographing products or creating moody portraits, indoor settings offer unique opportunities for creativity. The trick lies in overcoming the common hurdles of limited light, tight spaces, and distractions in the background.
In this blog, we’ll share tips and techniques to help you with indoor photography, whether you’re working with natural or artificial setups.
Optimise Your Lighting
Natural Light
- Find the Light: Position your subject near windows or doorways to make the most of natural light. Soft, diffused light works best for flattering photos.
- Use Reflectors: Bounce light back onto your subject with a white wall, a piece of foam board, or a professional reflector to eliminate harsh shadows.
- Avoid Backlighting (or Embrace It Creatively): Backlighting can create silhouettes or dramatic effects but requires careful exposure adjustments.
Artificial Light
- Choose the Right Bulbs: Opt for daylight-balanced LED bulbs to avoid yellow or blue tints.
- Diffuse the Light: Use softboxes, umbrellas, or lampshades to create soft, even lighting.
- Eliminate Harsh Shadows: Use multiple light sources from different angles to minimize shadows and brighten your scene evenly.
Adjust Camera Settings
- Increase ISO: Raise the ISO for low-light conditions, but be cautious of noise. Modern cameras handle higher ISOs better, so experiment to find the best setting for your gear.
- Lower Shutter Speed: A slower shutter speed lets in more light, but use a tripod to avoid motion blur. For handheld shots, aim for at least 1/60th of a second.
- Use a Wide Aperture: A low f-stop (e.g., f/1.8 or f/2.8) allows more light to reach the sensor and creates a pleasing background blur (bokeh).
- Shoot in RAW: This format preserves more detail and gives you greater flexibility when editing exposure, white balance, and colors.
Master Composition
- Declutter the Background: Remove distractions or use a plain backdrop to focus attention on your subject.
- Use the Rule of Thirds: Divide your frame into thirds and position key elements along these lines or intersections for balanced compositions.
- Experiment with Angles: Shoot from above, below, or at an angle to add interest and creativity to your shots.
- Frame the Subject: Use windows, doorways, or furniture to create natural frames that draw the viewer’s eye.
Leverage Props and Styling
Props can elevate your indoor photos, whether you’re shooting portraits, still life, or food.
- Choose Complementary Colors: Use props that match or contrast your subject for a harmonious or striking effect.
- Create Layers: Add depth by placing items in the foreground, middle ground, and background.
- Keep it Minimal: Avoid overcrowding the frame; let your subject shine.
Control White Balance
Indoor lighting often creates color casts (e.g., yellow from incandescent lights or blue from fluorescent bulbs).
- Set a Custom White Balance: Most cameras allow you to manually adjust the white balance to match your light source.
- Use Editing Software: Programs like Lightroom or Photoshop can correct white balance in post-processing.
Use a Tripod
A tripod is a game-changer for indoor photography, especially in low-light situations.
- Stability: It reduces camera shake, allowing for sharper images at slower shutter speeds.
- Consistency: Ideal for shooting multiple frames of the same scene, such as product photography.
- Creative Long Exposures: Experiment with light trails or ambient glow effects indoors.
Experiment with Shadows and Highlights
Shadows can add drama and dimension to your indoor photos.
- Directional Lighting: Position your light source to the side of your subject to create depth and texture.
- Low-Key Photography: Use a single light source to emphasise shadows for a moody, artistic look.
- High-Key Photography: Brighten your setup with multiple lights or reflectors for an evenly lit, cheerful aesthetic.
Utilise Post-Processing
Editing is an essential part of indoor photography to enhance colors, details, and lighting.
- Adjust Exposure and Contrast: Correct underexposed areas or emphasise highlights and shadows.
- Reduce Noise: Use software like Lightroom or Topaz DeNoise to clean up high-ISO images.
- Fine-Tune White Balance: Make sure the colors in your photo look natural.
- Add Finishing Touches: Crop, sharpen, or apply subtle filters to perfect your images.
Work with Limited Space
- Use Wide-Angle Lenses: Capture more of the scene in tight spaces without needing to step back.
- Shoot Vertically: Portrait orientation is ideal for small areas or when showcasing height.
- Use Mirrors: Reflective surfaces can create the illusion of more space and add visual interest.
Get Creative with Themes and Ideas
- Candid Moments: Capture natural expressions and interactions for authentic indoor portraits.
- Still Life Photography: Arrange everyday objects, flowers, or food in aesthetically pleasing ways.
- Seasonal Themes: Incorporate holiday decor, cozy winter setups, or fresh spring blooms for timely images.
- Experiment with Light Sources: Fairy lights, candles, or even your phone screen can create magical effects.
Final Thoughts
Indoor photography challenges you to work creatively with lighting, composition, and space, but the results can be stunning. With the right techniques and equipment, you can capture beautiful images that stand out, whether you’re documenting everyday moments or working on artistic projects.


