
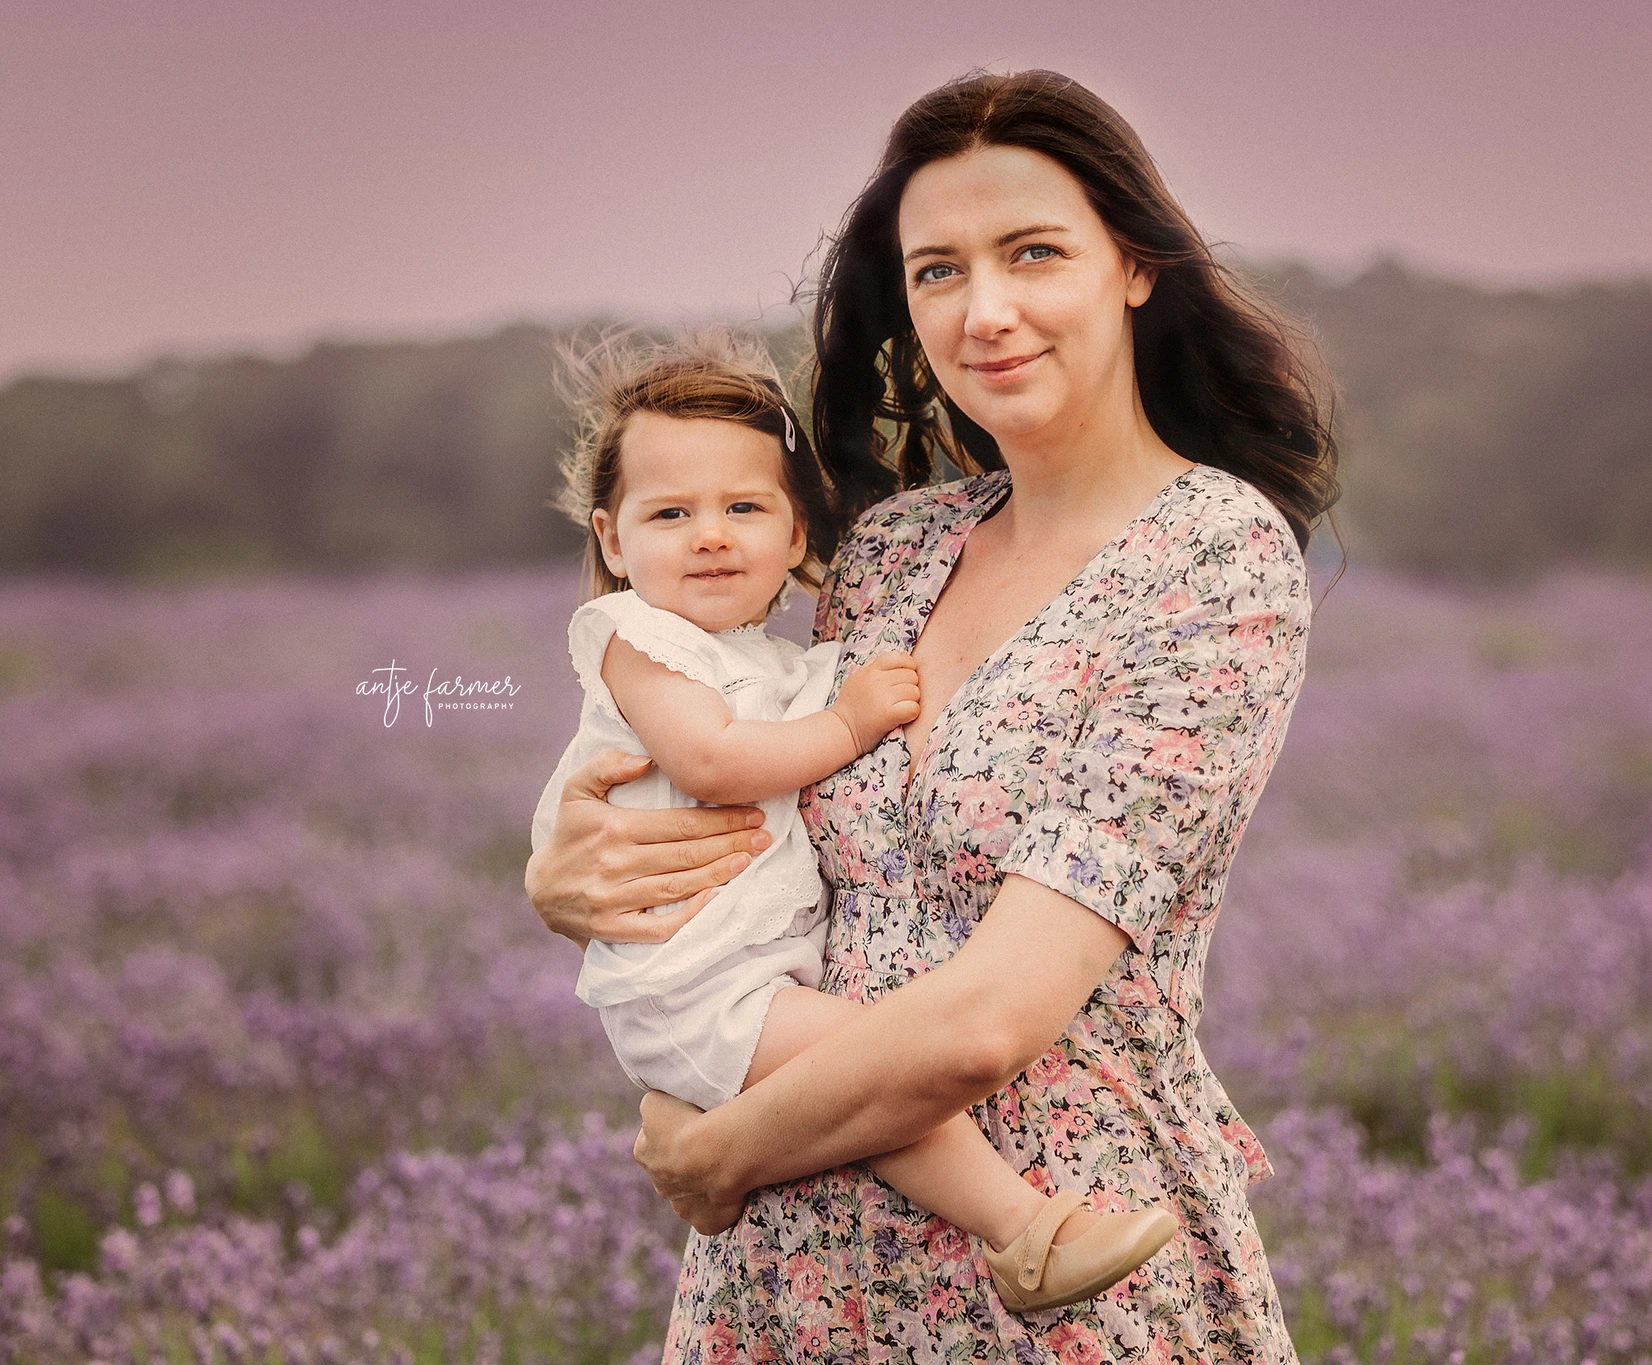
Portrait photography is all about capturing the essence, personality, and emotion of a person in a single frame. Whether you’re a beginner or an experienced photographer, improving your portrait skills can elevate the impact of your images and help you create photos that truly stand out. From lighting and posing to composition and camera settings, there are many factors to consider when shooting a great portrait.
In this blog, we’ll cover essential portrait photography tips that will help you create captivating, high-quality portraits every time.
1. Focus on the Eyes
In portrait photography, the eyes are often the most expressive part of a subject, and they tend to draw the viewer’s attention first. Keeping the eyes sharp and well-lit can make or break a portrait.
- Set Your Focus: Always ensure that the eyes are in focus, especially when shooting with a shallow depth of field. Use single-point autofocus to precisely control where the focus is set, aiming for the eye closest to the camera.
- Create Catchlights: Catchlights are reflections in the subject’s eyes that bring life and sparkle to a portrait. You can create them by positioning your subject near a light source or using artificial lighting like a softbox or reflector.
2. Choose the Right Lens
The lens you choose has a major impact on the quality and feel of your portraits. While any lens can technically be used for portrait photography, certain lenses are better suited for capturing flattering images of people.
- Prime Lenses: A prime lens with a fixed focal length, such as a 50mm or 85mm, is a popular choice for portraits because of its sharpness and ability to create a pleasing background blur (bokeh). These lenses also perform well in low-light conditions.
- Telephoto Lenses: A telephoto lens (70-200mm) can create beautifully compressed images that flatten facial features slightly, which can be flattering. It also allows you to shoot from a distance without being intrusive.
- Avoid Wide-Angle Lenses: Wide-angle lenses tend to distort facial features, making them less ideal for close-up portraits unless you’re going for a creative, exaggerated look.
3. Master the Use of Light
Lighting is one of the most critical elements of portrait photography. Good lighting can enhance the mood and emphasise the subject’s best features, while poor lighting can lead to unflattering shadows and flat images.
- Natural Light: Soft, natural light is often the best option for portraits. Shooting during the “golden hour” (the hour after sunrise or before sunset) provides warm, diffused light that flatters skin tones and reduces harsh shadows.
- Use a Reflector: If you’re shooting in natural light, especially outdoors, using a reflector can bounce light back onto your subject’s face to fill in shadows and create more even lighting. You can use a white, silver, or gold reflector depending on the effect you want.
- Artificial Lighting: When shooting indoors or in low-light situations, you might need to use artificial lighting. Softboxes, ring lights, and continuous LED lights are great for creating soft, flattering light that mimics natural daylight.
4. Pay Attention to Backgrounds
The background of your portrait is just as important as the subject itself. A cluttered or distracting background can take away from your subject, while a clean and simple background enhances the portrait.
- Use a Shallow Depth of Field: By using a wide aperture (like f/2.8 or lower), you can blur the background, keeping the focus on your subject while softening any distractions behind them.
- Choose Complementary Colors: Try to choose a background that complements your subject’s clothing and skin tone. Neutral colors often work best, but sometimes a bold or colorful background can add vibrancy to the shot.
- Keep it Simple: If possible, position your subject in front of a plain wall or a softly blurred outdoor setting. This minimises distractions and keeps the attention on your subject.
5. Engage with Your Subject
A big part of portrait photography is making your subject feel comfortable and relaxed. When people are nervous or tense, it shows in the photo, so creating a relaxed atmosphere is key.
- Give Direction: Most people aren’t professional models and may need guidance on how to pose. Be clear, encouraging, and specific in your instructions, helping them to find a pose that looks natural and flattering.
- Break the Ice: Engage your subject in conversation before and during the shoot. Ask them about their interests, crack a joke, or share some background on the project. Building a rapport will help them loosen up and be more expressive.
- Encourage Natural Expressions: Instead of forcing your subject into rigid poses, encourage natural movement and expression. Catching someone mid-laugh or in a candid moment can lead to beautiful, authentic portraits.
6. Experiment with Composition
While the traditional rules of composition, like the rule of thirds, are useful, don’t be afraid to break them and experiment with different angles and perspectives to make your portraits more dynamic.
- Rule of Thirds: Place your subject’s eyes along one of the horizontal lines in the rule of thirds grid to create a balanced and visually pleasing image.
- Use Negative Space: Leaving empty space around your subject, known as negative space, can emphasise the subject and create a dramatic or minimalist feel.
- Shoot from Different Angles: Don’t always shoot straight on. Try shooting from above for a more flattering angle, or from below for a more dramatic look. Different perspectives can add interest and variety to your portraits.
Utilise Props and Poses
Props can add an extra dimension to your portrait and give the subject something to interact with, helping them feel more comfortable in front of the camera.
- Use Props to Tell a Story: Whether it’s a musical instrument, a hat, or a flower, props can enhance the story you want to tell through your portrait. Just make sure the prop doesn’t overwhelm the subject—it should complement the person, not distract from them.
- Direct Posing: Guide your subject into natural poses that feel comfortable and reflect their personality. Avoid stiff, unnatural positions, and instead aim for poses that create a sense of movement or relaxation.
- Hands Matter: Don’t forget about hands—they can look awkward if they’re left hanging or posed unnaturally. Try having your subject hold something, place their hands in their pockets, or gently touch their face for a more natural look.
Camera Settings for Portrait Photography
Getting your camera settings right is essential for capturing sharp, well-exposed portraits.
- Aperture: Use a wide aperture (f/1.8 to f/4) to create a shallow depth of field that focuses attention on your subject and blurs the background.
- Shutter Speed: A shutter speed of at least 1/100 is ideal for handheld portrait photography to avoid motion blur. If your subject is moving or you’re shooting in lower light, consider increasing the shutter speed to 1/250 or higher.
- ISO: Keep your ISO as low as possible (100-400) to avoid noise in your images, especially when shooting in good lighting conditions. In low light, you may need to increase your ISO, but be cautious of too much noise affecting image quality.
Edit for a Professional Finish
Post-processing is an important part of portrait photography. Editing allows you to enhance the colors, adjust lighting, and refine details to make the portrait stand out.
- Basic Adjustments: Start by adjusting the exposure, contrast, and white balance to ensure your photo is well-lit and color-accurate.
- Retouching: Use photo editing software like Adobe Lightroom or Photoshop to smooth skin, remove blemishes, and brighten the eyes. Just be careful not to over-edit—keeping a natural look is usually best for portraits.
- Enhance Colors: Enhance the color of the eyes, lips, or background, and experiment with adding a slight vignette to focus the viewer’s attention on the subject.
Conclusion
Portrait photography is an art that requires a balance of technical skill and creative vision. By focusing on elements like lighting, composition, lens choice, and engagement with your subject, you can capture stunning portraits that truly reflect the essence of the person in front of your camera. Keep experimenting, practice regularly, and most importantly—have fun with the process!


